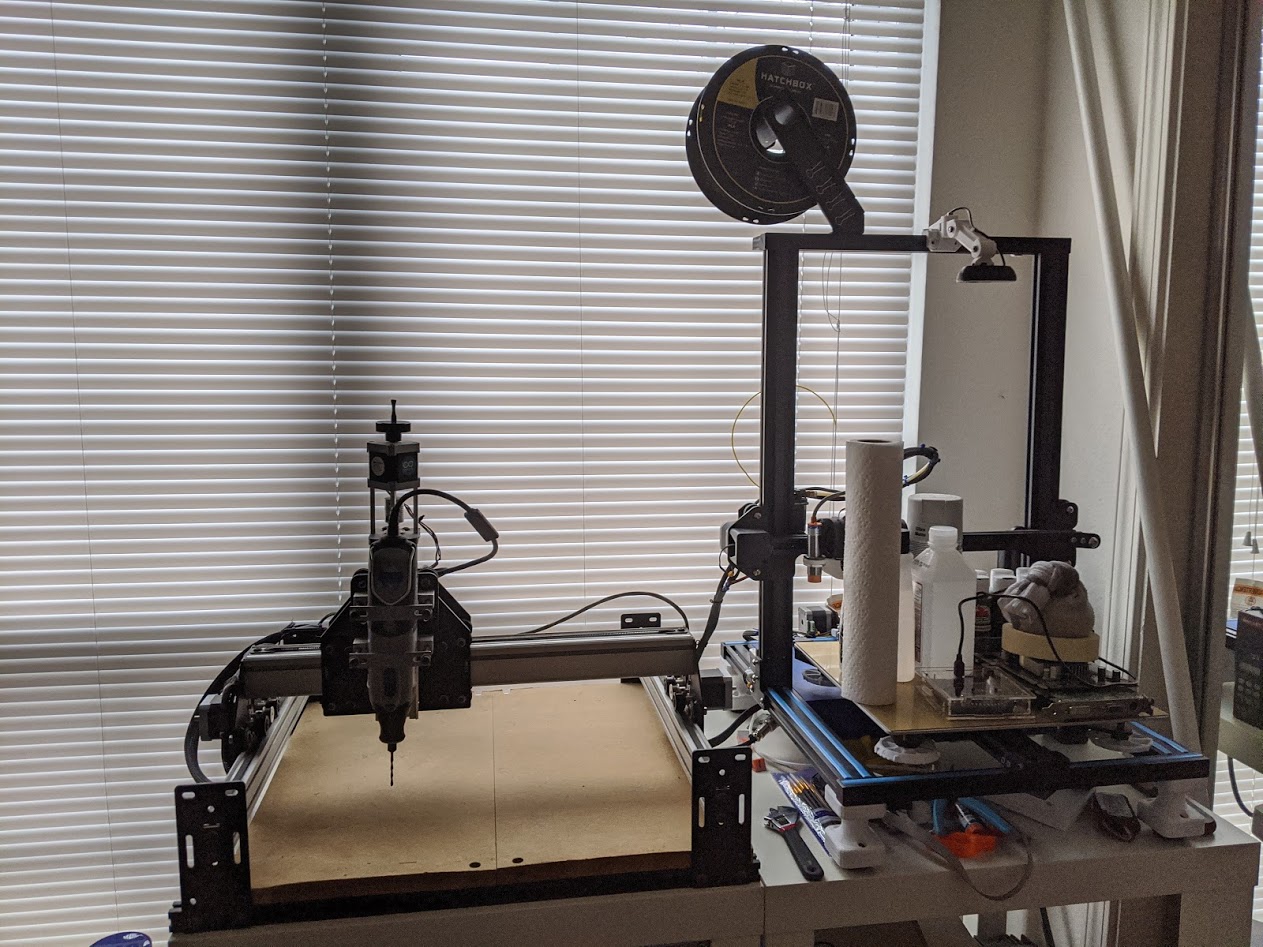
Before the break, one of my professors offered to give me a CNC he had let sit for a long time. The machine, a Shapeoko 2, was built sometime around 2016 from a popular kit known for making CNCs affordable to hobbyists and garage tinkerers alike. I have owned this machine for about a week now and have found a lot of areas to improve upon. Today I will be discussing some of those rough spots of the machine and what I’ve done to make the machine more portable.
Being powered by little more than a Dremel, the Shapeoko 2 is not exactly a high performance CNC like what I have worked with at Purdue. It can only use 1/8″ shank cutters and can’t be integrated with the CNC controller. While this does simplify some aspects of the machine and reduce costs, it also compromises the rigidity of the machine and increases the noise levels while operating.
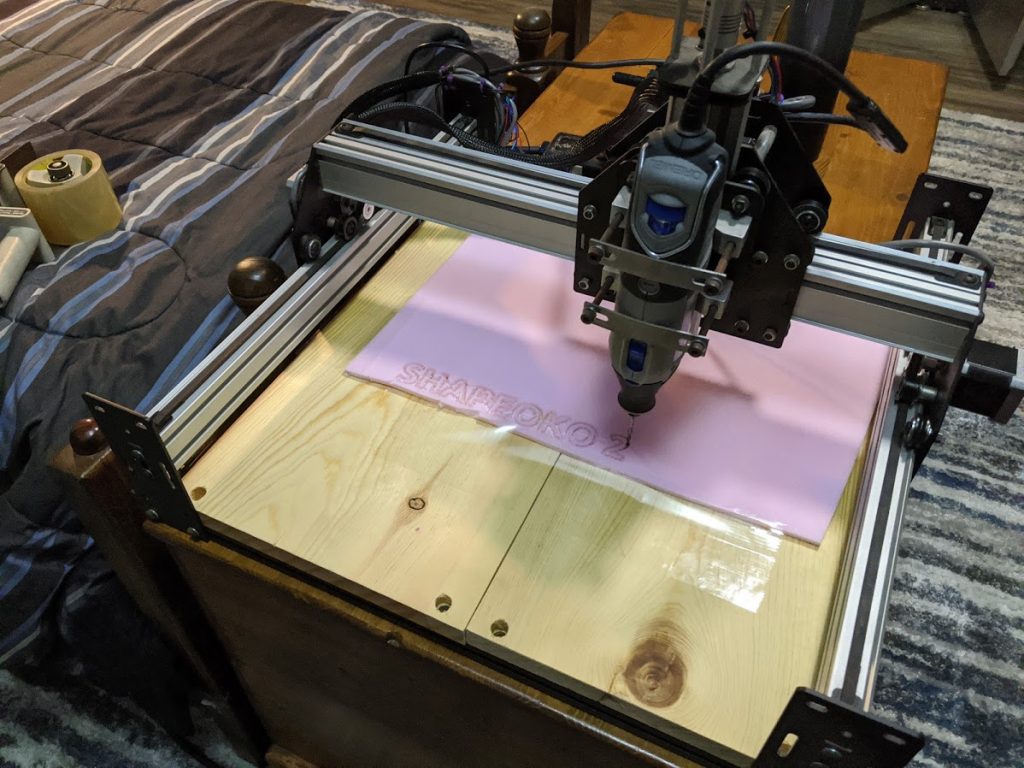
Since the current epidemic is expected to cause issues and close the university, I decided to move back to my parents place which would explain the many different backgrounds in some of my images. In the above image, the CNC was making some of its first cuts. I may have set the Z height incorrectly during setup, but the cuts looked relatively clean and showed promise. I can definitely tell the spindle has some flex in it though since I can push it up to 1/8″ without excessive force. I also had to replace the wasteboards with new pine planks as the old wasteboard had become warped from exposure to water.
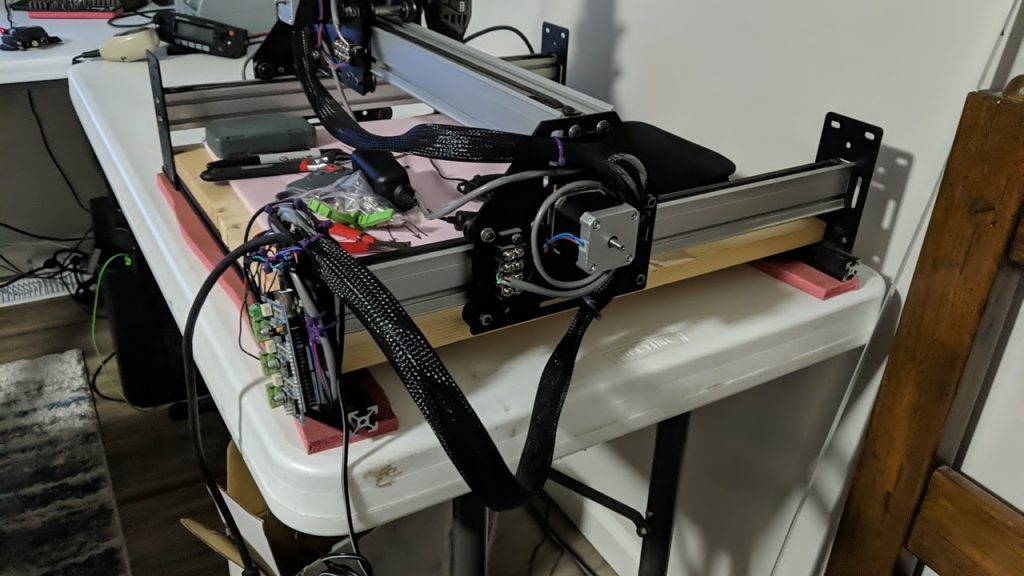
With a few basic cuts done, I decided to tidy up the wires a bit and zip tie the control board to the frame so it can have a more permanent place to live. I don’t like how open the board is to the elements which could cause shavings and dust to get on it. In the near future I will likely build an electronics enclosure to protect it and hide the wires a bit better.